How to install the Z'Tilter

Video

Step-by-step Instructions

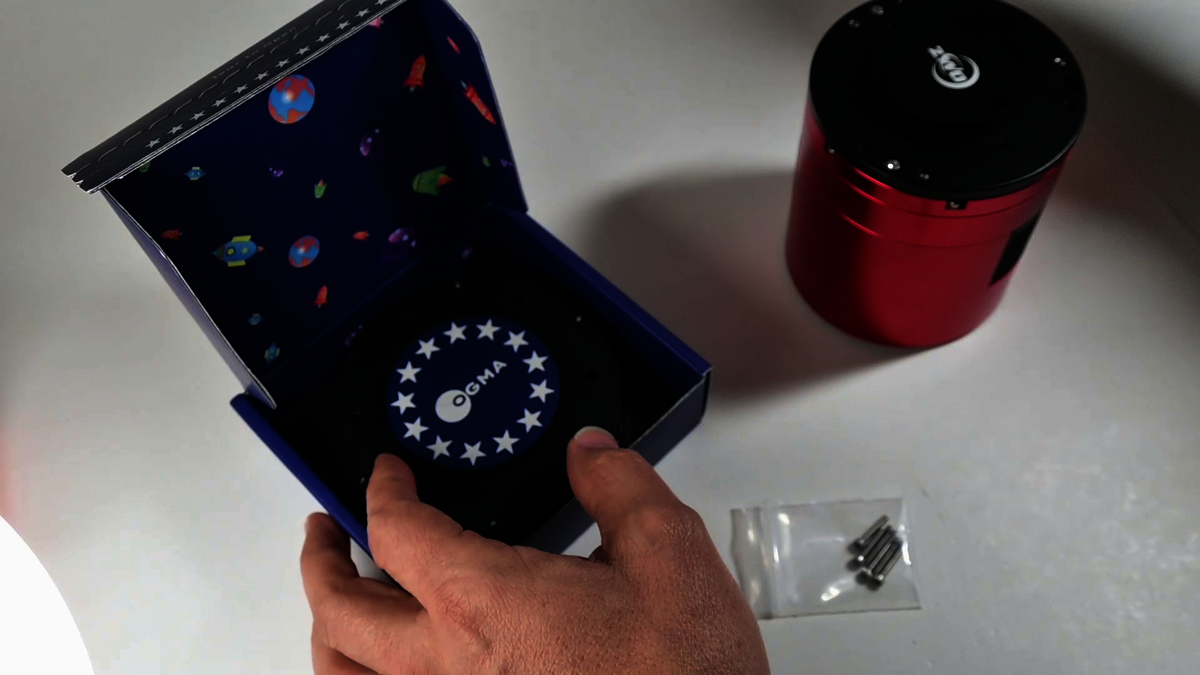
Unbox the Z'Tilter

Step 1: Unbox the Z'Tilter

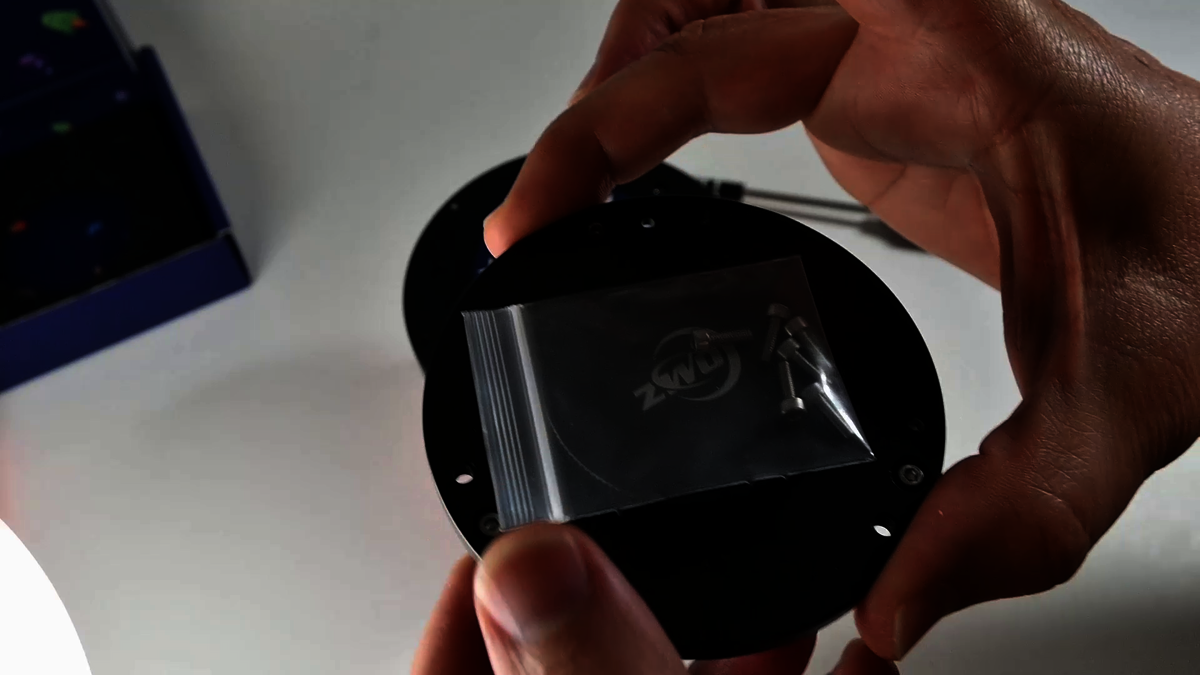
  • Open the Z'Tilter package and carefully remove the components.
  • Set the Z'Tilter and all provided screws on a clean surface.
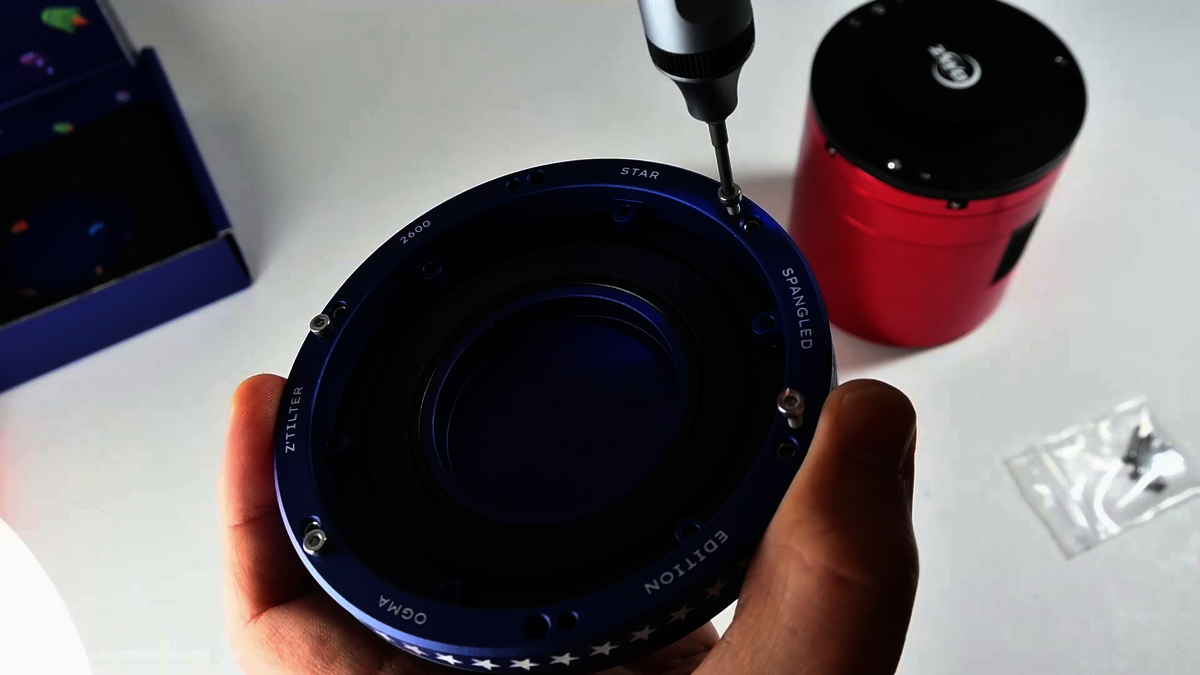
Prepare Z'Tilter for Installation

Step 2: Prepare for Installation

  • Use a light-torque electric screwdriver or the provided Allen key.
    • Note: Be gentle to avoid damaging the screw threads.
  • Remove the four pre-installed pull screws from the Z'Tilter. These screws hold the Z'Tilter ring to the disk.
  • Detach the disk from the Z'Tilter ring and set it aside.
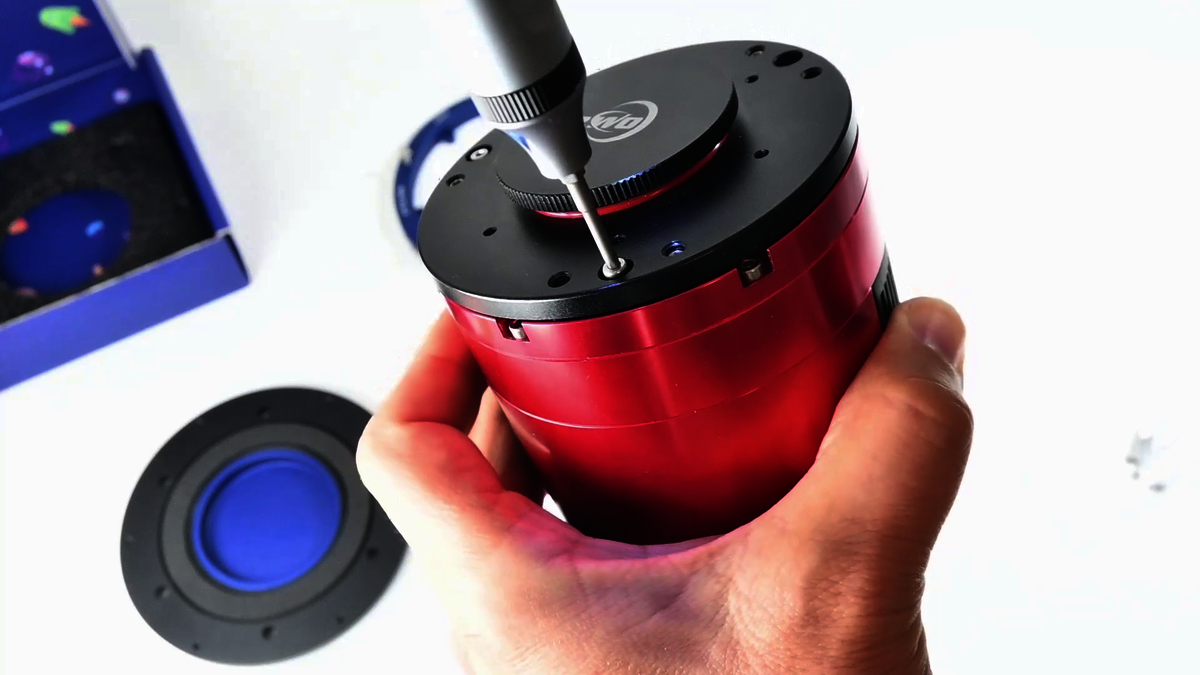
Remove the Camera's Front Disk

Step 3: Remove the Camera's Front Disk

  • Remove the three screws securing the front disk of the ZWO ASI2600 camera.
    • If you’ve already removed one screw, detach the remaining two screws.
  • Gently lift the front disk, exposing the protective glass of the sensor chamber.
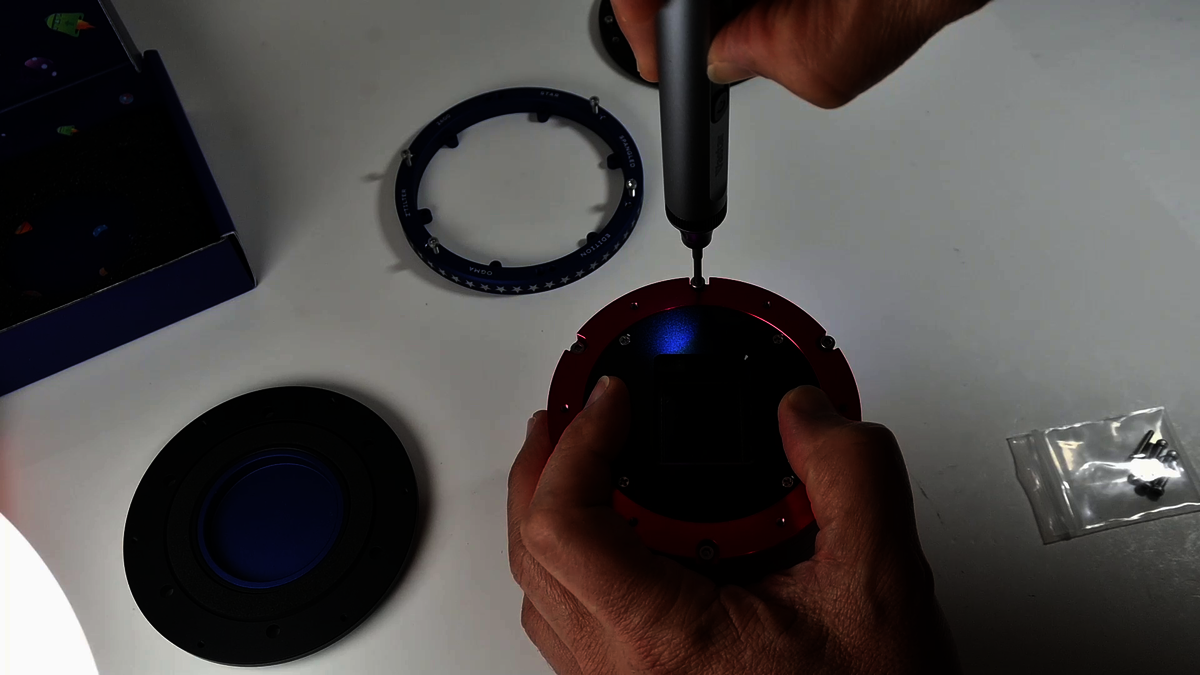
Remove Protective Glass Screws

Step 4: Remove Protective Glass Screws

  • Important: Hold the top of the camera securely to prevent dust from entering the sensor chamber when the screws are removed.
  • Carefully unscrew the six screws securing the protective glass.
    • Avoid touching the protective glass or dropping screws onto it to prevent damage.
Attach the Z'Tilter Ring

Step 5: Attach the Z'Tilter Ring

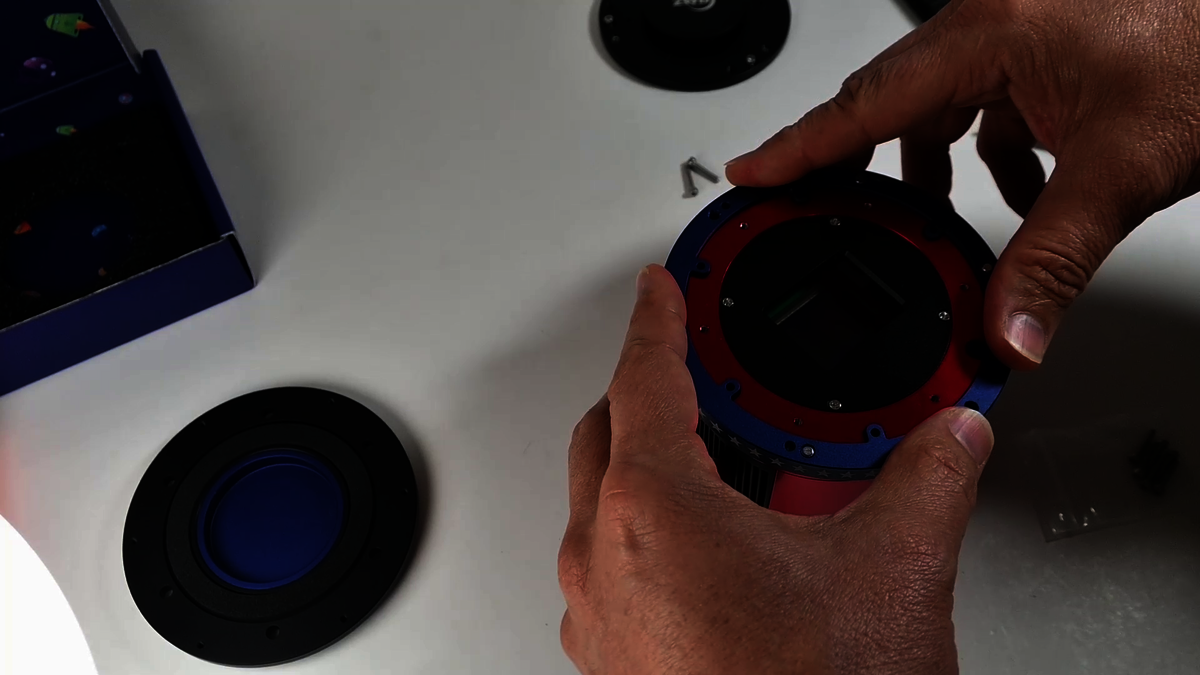
  • Position the Z'Tilter ring onto the front of the camera.
  • Ensure the ring is correctly oriented so the surface fits flush with the camera body.
  • Use the six screws provided with the Z'Tilter to secure the ring.
    • Tighten gently to avoid stripping the threads.
Attach the Z'Tilter Disk

Step 6: Attach the Z'Tilter Disk

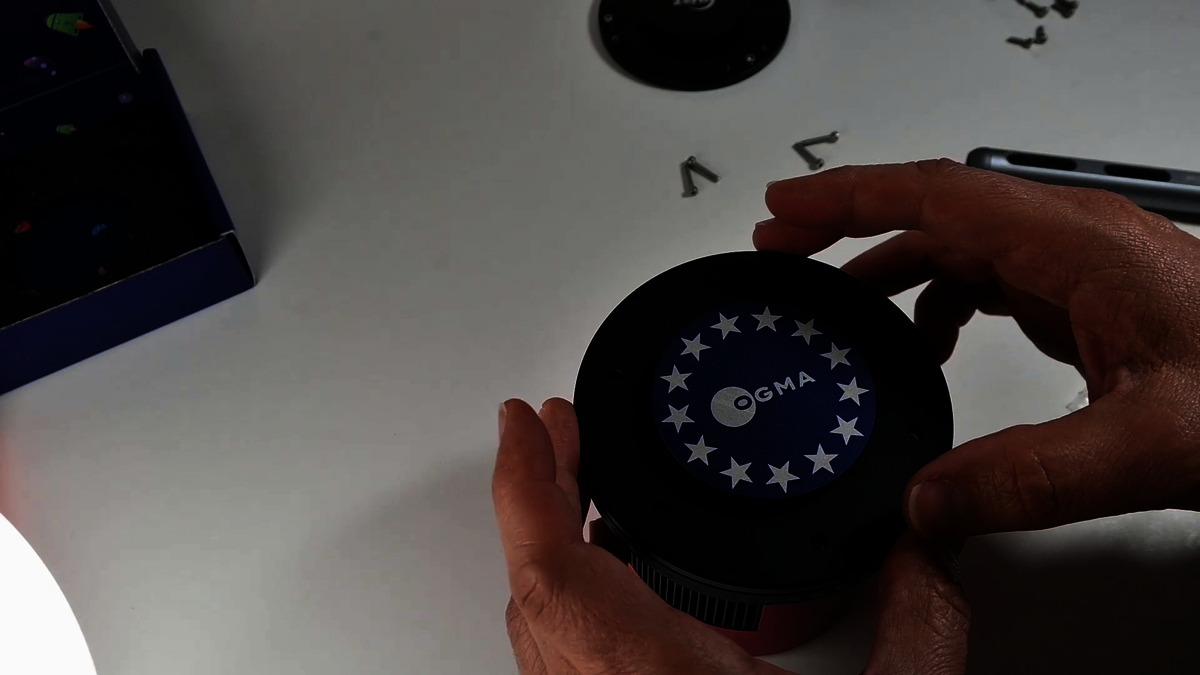
  • Flip the camera to access the rear section.
  • Position the Z'Tilter disk onto the back of the camera.
  • Use the four screws removed earlier to attach the disk.
    • Optionally, configure the Z'Tilter with three or four sets of screws, depending on preference:
      • Four screws: Recommended for software like NINA to measure tilt on all four corners of the sensor.
      • Three screws: Preferred for defining a stable plane with minimal adjustments.
Save Removed Screws

Step 7: Save Removed Part

Store the removed screws and the front plate of the camera in a safe place for future use.

  • These will be needed if you wish to revert the camera to its original configuration.

Completion

Your Z'Tilter is now installed and ready to use. You can attach additional devices to the front of the camera and adjust tilt using the screws on the back.

Thank you for choosing OGMA!